Category: Kitchen

Yesterday was Tuesday, which is “farm day” for me.  It’s the day I go to my local farm to pick up my fresh eggs, summer berries, the first of the heirloom tomatoes, and veggies. I have been going to the farm once a week since Olive was a few months old, and it’s one of my favorite tasks.  It is truly wonderful to have developed great relationships with the farmers themselves and the family & friends who work at the stand.  It is a step up from the bustling farmers’ market because I can stroll out back and see exactly where the hens are laying eggs and my food is growing.  I can treat myself to a bouquet of flowers (they have ranunculus and sweet pea in abundance in the spring — be still my heart!).  They even have local-caught fish, grass fed beef, raw foods and artisan baked goods.  What a blessing!!  Aside from growing it yourself, it doesn’t get much better.

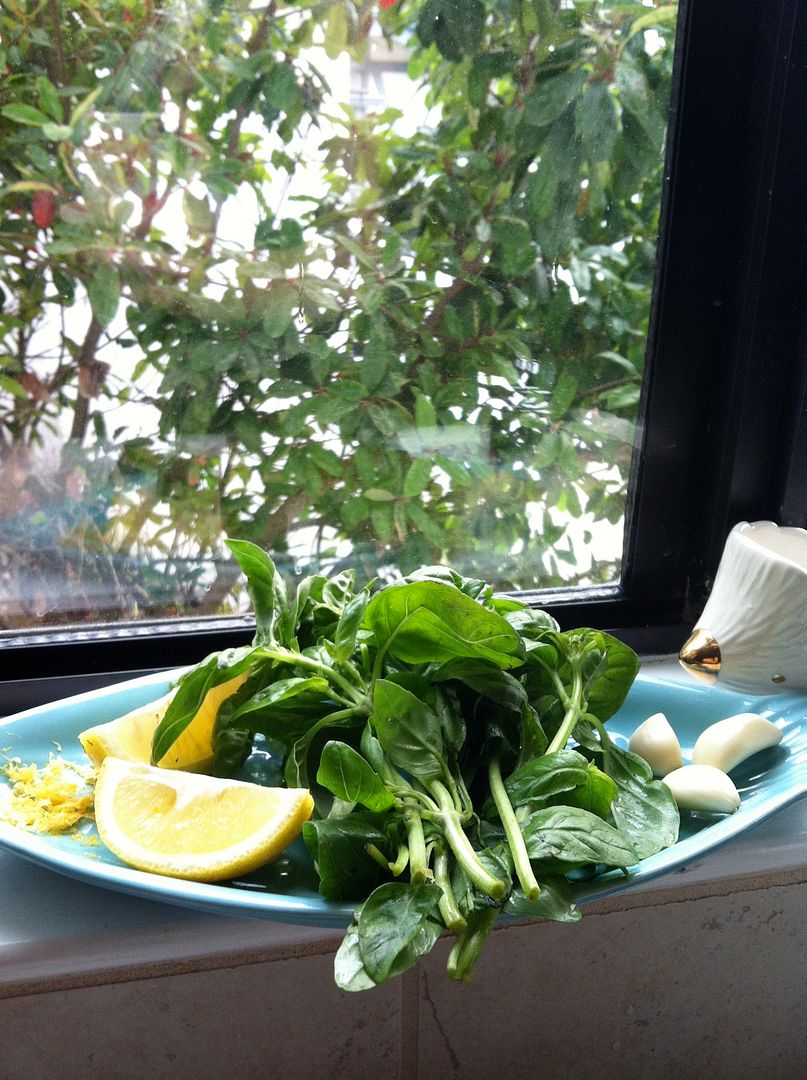
As I filled up my basket yesterday, I couldn’t resist some lemons and a bunch of fragrant basil.  I don’t know about you, but basil just tastes like summer to me.  Just like that, I was inspired to make some pesto for dinner.  Petso actually comes from an Italian word meaning to pound or to crush.  Although a traditional pesto genovese is made with basil, pine nuts, garlic, parmesan and olive oil, I have eaten and concocted many variations of the tasty spread myself.  I love versions that feature peppery arugula or milder spinach, and I often swap out the pine nuts (pricy and not always stocked in my pantry) for blanched almonds or walnuts.  I had some fresh shrimp in the fridge so dinner came together in a snap.  Here’s a simple recipe that will have an amazing meal on the table in under 30 minutes.  Buon appetito!

Pesto Roasted Shrimp with Pasta ~ Yield: 4 servings (Pesto recipe adapted from Williams-Sonoma)

  • 1 lb of approx. 21-25ct shrimp, peeled (you choose with tail or without!), deveined, rinsed and patted dry
  • 3 Tbs of pine nuts, walnuts, almonds, etc. // If using walnuts or almonds, I suggest soaking and peeling.  Lightly toasting the nuts before using will add depth of flavor as well!
  • 3 garlic cloves, peeled
  • 3 cups firmly packed fresh basil leaves (or arugula, baby spinach, etc.)
  • 1/2 cup of good extra virgin olive oil
  • 1/4 cup of parmigiano-reggiano cheese (adjust to taste)
  • salt and pepper to taste
  • red pepper flakes (optional) to taste
  • 1 lemon, grated for zest and then juiced
  • bamboo skewers
  • parchment paper or foil

Place a rack in the top 1/3 of your oven and preheat to 400 degrees F.  Soak bamboo skewers in a shallow baking dish, covered with water, for 10 minutes.

In a food processor, combine the garlic, nuts, and lemon zest and pulse until minced.  Everyone has their preferred texture when it comes to pesto (creamy vs. coarse) so make it as fine as you like!  Add half of the basil leaves and half of your lemon juice and process until finely chopped.  Then, add the other half of the basil leaves and juice.  As you process, add the olive oil in a slow, steady stream into the processor.  (I have a kind that allows me to pour directly into it as I’m processing.  If you are unable to do this, add 1/4 cup of the oil, process, and then add additional olive oil slowly until the desired consistency is achieved.  To adjust consistency, add more basil or nuts to thicken or oil to thin.

Now add in the cheese and salt and pepper.  Process until fully integrated.  Taste and adjust seasonings as desired.

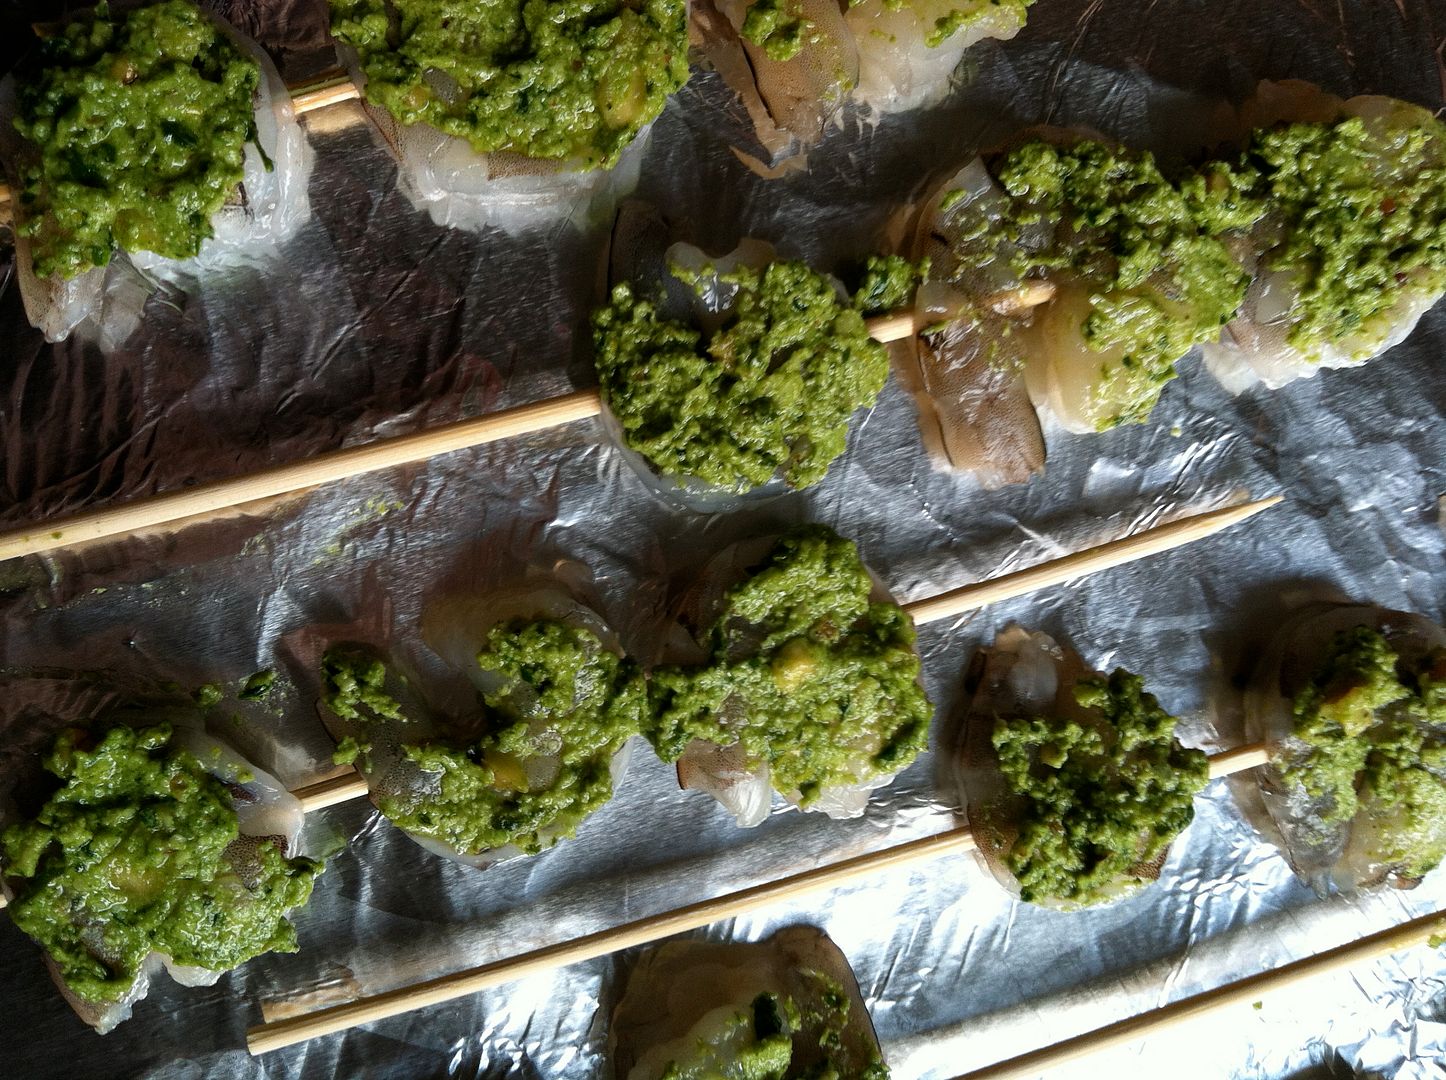
Take the soaked bamboo skewers and thread shrimp onto them.  I did 3 large shrimp per skewer, but it’s up to you.  Place onto a foil or parchment paper lined baking sheet.  Then, using a small spoon or your clean hands, pat a thin layer of your pesto onto each shrimp.  Sprinkle with red pepper flakes if you like a little heat (like I do!).

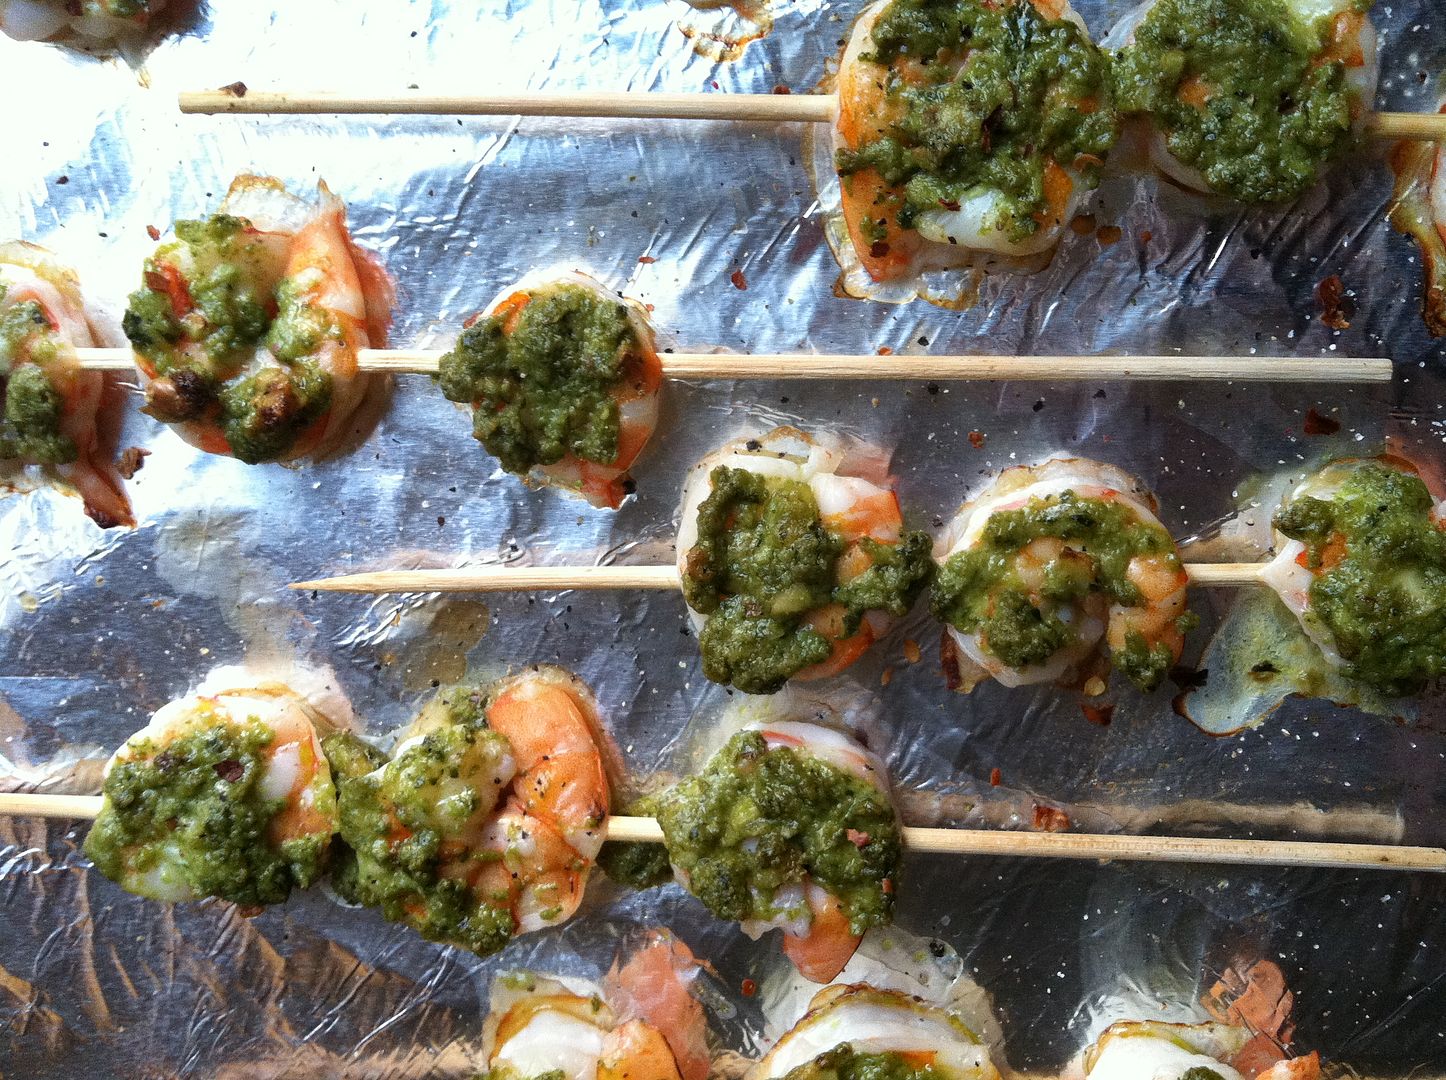
Roast in the oven for 8-10 minutes (mine were perfect in 9!), or until shrimp are completely opaque.  You can either remove from skewers and toss into a salad or pasta, or serve them on the skewers as appetizers!

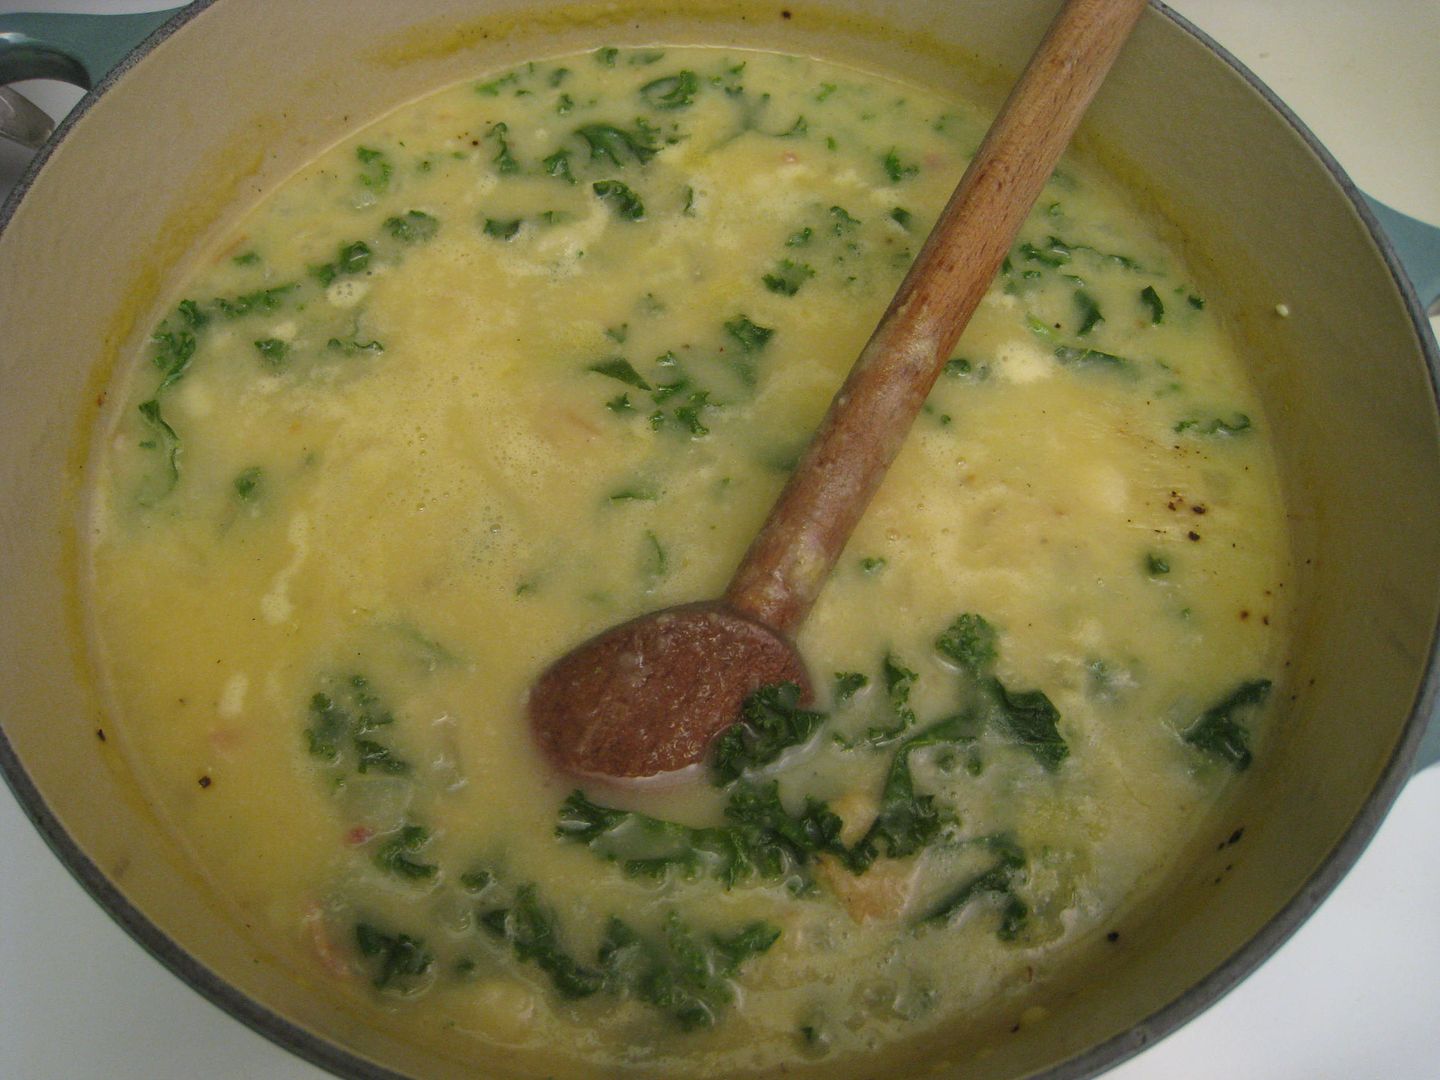
I prepped some gemelli and used my leftover pesto to create a simple sauce (leftover pesto + a splash of heavy cream and salt = delicious creamy pesto pasta sauce!!).  A squeeze of lemon and dinner was on the table!  Next time I’ll toss in some sundried tomatoes and/or fresh cherry tomatoes…

Let me know if you give the recipe a try — it was a big hit and I can’t wait on many more summer nights.

Christmas-time always puts me in the mood to bake.  I know I’m not alone on this one.  🙂  While Thanksgiving conjures visions of a dinner table overflowing with savory treats, Christmas celebrations frequently star sweets.  I have participated in a number of Christmas cookie exchanges over the years, and this year is no exception.  I’m excited to see what the ladies at my church have created this year!  For my contribution, I almost always lean on this recipe for my VERY favorite cookie — a cranberry orange cookie dotted with chopped walnuts, drizzled with a tart citrus glaze.  I first “discovered” this cookie in college, when a friend made a variation of them.  I’ve since found many similar recipes online.  So, I can’t take credit for the recipe… only for introducing you to it!!

These cookies are my idea of baked good perfection.  🙂  They have a lovely balance of tart & sweet, and an ideal texture balance as well (softer cookie, chewy cranberries, crunchy walnuts).  I can eat them by the dozen!!  My best friend, Kristin, came to visit this past weekend.  She tried a few of these cookies and agreed… they are highly addictive!!  I hope some of you whip up a batch of your own to see for yourself how wonderful these cookies truly are…

Cranberry Orange Cookies with Walnuts ~ Yield: 4 dozen

{Ingredients}

  • 1 cup of butter, softened
  • 1 cup of white sugar (I prefer turbinado sugar when available)
  • 1/2 cup of packed brown sugar
  • 1 large egg
  • 1 tsp grated orange zest (or more, if you’re wild for oranges like I am)
  • 2 TBS of orange juice (I use fresh juice from the oranges I’m zesting, rather than a store bought juice) — I used Cara Cara oranges, an incredible variety with a blush-tinged flesh and incredibly juicy sweet flavor with hints of cherry, blackberry and rose.  YUM!)
the cara cara orange
ingredients, cont’d…
  • 2.5 cups of AP flour
  • 1/2 tsp baking soda
  • 1/2 tsp salt (I use pink HimalaSalt)
  • 2 cups of chopped dried cranberries (dried currants would be a perfect alternative)
  • 1/2 cup chopped walnuts (I typically add 3/4 cup instead… LOVE walnuts!)
and for glaze…
  • 1/2 tsp grated orange zest
  • 3 TBS orange juice (again, fresh juiced)
  • 1.5 cups confectioners’ (powdered) sugar
mise en place

{Instructions}

  1. Preheat your oven to 375 degrees Fahrenheit.
  2. In a large bowl, cream your butter and white + brown sugars until smooth.
  3. Beat in the egg until thoroughly integrated.
  4. Add your orange zest and orange juice and continue to mix.
  5. In a separate bowl, combine flower, baking soda and salt.  Add this mixture to your wet batter.
  6. Mix in cranberries + walnuts, until evenly distributed throughout the batter.
  7. Drop the dough by rounded tablespoons onto ungreased cookie sheets (I swear by Silpat liners).  **Make sure to give the cookies some room… at least 2″ apart on all sides.  They spread a bit.
  8. Bake for 12-14 minutes in the preheated oven, until the edges are just golden brown.
  9. Remove cookies from the sheets and cool on wire racks.
  10. For the glaze: mix all three ingredients together until smooth.
  11. Spread or drizzle glaze on the tops of the cooled cookies, and wait until glaze is set before storing cookies.
butter + sugars = a sparkling “dough” that takes shape when molded
egg + orange juice + zest integrated
cranberries & walnuts
the finished dough is fragrant and beautiful, dotted with the ruby jewels of cranberry and specks of pretty orange zest
baking with a silpat liner makes my life 1000x easier
simple glaze
ready to devour!!  xo

Enjoy!!  xoxo, Angel

I love to cook but I am not that big on baking.  At least, I thought I wasn’t.  It seems like anytime I embark on something new and exciting in the kitchen these days, it’s to bake something.  This has turned out to be simultaneously good and bad — I am grateful for the baking success, but not so fond of having delectable baked goods constantly within arm’s grasp!  😉

I can’t take the credit for this latest creation, which I discovered while reading Smitten Kitchen (one of my very favorite non-wedding blogs — check it out!).  **Note: SK adapted the recipe from the one in Super Natural Everyday — just another affirmation that it’s near-impossible to trace the origins of a recipe!!

My love for blackberries is akin to my love for bananas — I go crazy for anything with them.  So, once I saw this recipe pop up in my Google reader, I knew I had to make it.  Our family Easter supper afforded me the perfect excuse to whip this up.  Although I typically do not advise one to try out new recipes for things you’re taking to feed others, I was lucky this time.  As always, I made a few adjustments so I will share “my take” on her recipe below.

Blackberry Coconut Tart with Toasted Pistachios – Yield: 8-12 servings, depending on the size of the slices!

{Ingredients}

for the crust…

  • 1 cup and 2 TBS of unbleached white flour (or whole wheat flour) — I prefer Bob’s Red Mill flours
  • 1/2 cup plus 1 TBS of unsweetened finely shredded coconut (I used coconut flakes (Bob’s Red Mill again) because I had it on-hand.  I pulsed most of it in the food processor but I didn’t mind the extra texture.)  🙂
  • 1/2 cup plus 1 TBS natural cane sugar (I used Wholesome Sweeteners‘ organic sugar)
  • Generous 1/4 tsp fine grain sea salt (I used HimalaSalt pink sea salt)
  • 6 TBS unsalted butter, melted
for the filling…
  • 1.5 cups unsweetened finely shredded coconut (again, used my coconut flakes)
  • 6 TBS natural cane sugar
  • 3 large egg whites
  • 6 oz. fresh blackberries, halved (I halved some, and left the smaller ones whole)
  • 1/4 cup pistachios, unsalted & toasted — crushed (I kept most in-tact, and probably used closer to 1/3 cup since I love pistachios!)
{Instructions…}
  1. Preheat oven to 350 degrees Fahrenheit.
  2. Generously butter the bottom and sides of a 9.5″ round tart pan (I got mine for $11 at Williams-Sonoma — a steal!)
  3. Combine flour, coconut, sugar and salt in a medium bowl.  Stir in melted butter to incorporate with the dry ingredients.
  4. Press mixture firmly into the bottom (and slightly up the sides) of the tart pan to create a solid, flat “crust” shape.
  5. Bake crust for 15 minutes, or until lightly golden.  Take out to cool while you prep the filling.
  6. Stir together coconut, sugar and egg whites for the filling.
  7. Evenly place blackberries across the crust — I started from the outside in a circle and moved toward the center in concentric rings.  I placed leftover blackberries at random once I had the majority evenly distributed.
  8. Using your fingertips, spread the filling around the blackberries and throughout the tart, leaving the tops of the blackberries uncovered.  (It would save a ton of time to put the filling in first and press in the blackberries, but I’m not sure if they’d be as securely anchored in the filling…)
  9. Bake 20-25 mins until the peaks of the filling are golden brown.
  10. Let tart cool for 15-20 minutes, and then press in your pistachios.
  11. I then sprinkled about 1 TBS of HimalaSalt over the top of the tart and baked for another 5 minutes to set with the pistachios.
  12. Slice into wedges and serve!  Would be phenomenal alongside vanilla bean ice cream, but perfectly scrumptious on its own.
crust, pre-baking
juicy blackberries
ready to go in the oven!
the gorgeous result
check out all that yummy texture!!!

I am always so honored and thrilled when I hear that my clients and readers have tried out recipes from my blog!  Let me know if any of you attempt this tart while the berries are in season.  😉
Enjoy the rest of your week~  xoxo, Angel

Hello everyone!  I hope your week is off to a most wonderful start.  🙂  Last night, after I had finished my daily emails, I felt the sudden urge to bake.  Who am I to question these sugar-craving whims, right?  I had a few overripe bananas on the counter and knew I wanted to make something with them.  A peek into my pantry and a quick Google search led me to an inspired idea: banana + Nutella muffins!  (It is a well-known fact that I am both a banana and Nutella fiend.)  I like my baked goods to have some texture (e.g. I can’t stomach a brownie that isn’t chock full of walnuts), so of course I had to add a healthy dose of walnuts. The result was incredible: sweet but not cloying, and perfectly comforting.  I enjoyed one right out of the oven with an icy glass of milk — a perfect midnight snack.  I also had one for breakfast this morning. Apparently there isn’t a wrong time to eat one of these!

It wouldn’t be nice of me to tease you with photos and not offer up the recipe, so here it is!  (It is a combination of recipes I found elsewhere.)

Banana Walnut Muffins with Nutella Swirl – Yield: 1 dozen + a little ramekin 🙂

{You’ll Need…}

  • 1.5 cups of all-purpose flour (I like Bob’s Red Mill unbleached flour)
  • 1/2 tsp of baking soda
  • 1 tsp of baking powder
  • 1/4 tsp of salt
  • 3/4 cup of sugar (I use 1/2 cup of white sugar, 1/4 cup of light brown sugar — I’m partial to Hain Foods sugars)
  • 1/2 cup of butter (unsalted) – softened
  • 2 large eggs
  • 3 overripe bananas, mashed
  • 1 tsp of vanilla (optional)
  • 1/2 cup to 1 cup of chopped walnuts
  • Nutella (how much you use is up to you; see directions below)

{Directions}

  1. Preheat your oven to 350 degrees Fahrenheit.
  2. Combine your dry ingredients (flour, baking soda, baking powder, salt, sugar) in a large bowl.
  3. In a separate, smaller bowl, mix 2 large eggs, butter, and mashed bananas.  Add 1 tsp vanilla if desired.
  4. In four or five small batches, slowly add some of your banana mix to the dry ingredients.  Stir only until incorporated and the dry ingredients are moistened — do not over-mix!
  5. Add in your walnuts and stir again just to distribute them in the batter.
  6. Prepare your muffin tin with cooking spray or cupcake liners.
  7. Fill tins or liners halfway with batter.
  8. Using a tablespoon, drop a dollop of Nutella on top of each half-full tin/liner.  It does not need to be perfect… you just want Nutella goodness swirling throughout the entire muffin!
  9. Go back and fill up the liners (almost to the top — unlike other cupcakes, these muffins will not rise too much.  They have denser texture so it’s safe to go 90% full on them.) with the remaining batter.
  10. Using your tablespoon again, add another dollop of Nutella on top of each portion of batter.
  11. Take a chopstick and gently swirl the Nutella into the muffin, so you don’t just have a glob of it on the top.  One or two gentle swirls is enough — you don’t want to blend it too much.
  12. Pop into the preheated oven and bake for 15-18 minutes.  (Mine were perfect in 16 minutes!)
  13. Test for doneness with your finger — when the muffins are ready, a little “dent” pressed into the top of it will spring back into position… the dent won’t remain.  The fork/toothpick trick won’t really work here since the moist batter and Nutella make it hard to pull out a clean fork!
  14. Enjoy any time of day!

Let me know if you end up making these muffins; I’d love to hear what you think! Also, let me know if you have a favorite way you like to cook with Nutella and/or bananas.  I love reading recipes and experimenting in the kitchen!

I hope the rest of your week is very, very sweet.  <3

xoxo, Angel

Hello dearest readers!!  Most of you know I looove to cook.  It is a tremendous passion of mine!  I enjoy cooking dinners nearly every night of the week and for me the entire process, from building a recipe to shopping for ingredients to stirring in that last sprinkle of kosher salt, is simultaneously inspiring and relaxing.  I derive so much pleasure from preparing a delicious meal and savoring it! I’ve shared recipes here and there on this blog, but I wanted to start a new cooking feature.  It will be a fun way to share scrumptious, seasonal recipes with all of you… things that I’m actually cooking and enjoying!  🙂  Although this blog was created to primarily showcase my work as a wedding planner and designer, I love connecting with my readers over things I love.  I hope some of you will try out this recipe and let me know what you think!

The cooler temps always make me crave soup, and soup is always a satisfying one-pot meal.  I brought out my Le Creuset dutch oven (mine is in “ocean,” a moody gray blue that is exclusive to Williams Sonoma) and get to chopping veggies.  This soup is simple to prepare and is hearty, comforting, and of course… utterly delicious!  This isn’t an original recipe, but one based on a potato-bacon-gruyère soup from Epicurious.  I added the kale and made a few other changes to the ingredients + quantities, so what you read below is how I actually prepared the soup (not how it is written by Epicurious).

{ingredients}

  • 2 TBS of butter for sautéeing your onions + another 2 TBS for your roux
  • 4 pieces of bacon (or pancetta, prosciutto) —
  • 1-2 medium yellow onions (I used a Maui sweet onion), finely chopped
  • 2 cloves of garlic, minced
  • 32 oz. of chicken broth (I used organic, low-sodium broth from a carton, but homemade would be better!)
  • 2 cups of water
  • 1/4 cup of all-purpose flour (I use unbleached AP flour)
  • 1.5 lb of Yukon gold potatoes, peeled and chopped into approx. 1″ cubes
  • 1/2 lb of shredded Gruyère (yum!!!) — you’ll end up with a bit over 2 cups of grated cheese
  • 6 cups of fresh chopped kale (I cut away and discarded the stems)
  • Kosher or sea salt + Fresh ground pepper to taste
  • Dash of worcestershire sauce
  • Dried or fresh herbs to taste (sage, thyme, basil — I played around for the right balance)

{preparation}

  1. In your large saucepan/dutch oven, cook bacon over medium heat, turning halfway, to a crisp.  Remove from saucepan, drain on paper towels, and crumble.  Set aside.
  2. Add butter to the bacon grease and over medium heat and add the chopped onion.  Cook for approx. 8 minutes, stirring frequently, until soft and translucent. Return crumbled bacon to the pot.
  3. Add minced garlic and continue to stir (you don’t want burned garlic — it is utter nastiness) for about 30 seconds.
  4. Stir in the broth and water.  Bring to a boil.
  5. Add chopped potatoes and simmer, covered, for 10 minutes.
  6. In a small saucepan melt 2 TBS of butter, and slowly add flour little by little, whisking it together to create a pastey roux (thickener for your soup).  Add to the soup slowly, stirring gently to fully integrate.
  7. Simmer soup, covered, for 10 minutes.
  8. Pull out your blender and ladle 3 cups of hot soup out of your pot, into the blender.  Add the gruyère and purée with the hot soup.  Return it all to your pot. Now you have the smooth, blended potatoes, as well as some still solid potato “chunks.”  🙂
  9. Add chopped kale and stir.  Let simmer 5 additional minutes.
  10. Add a dash of worcestershire sauce, herbs + salt and pepper to taste.
  11. Serve and enjoy!  🙂

yum!

Hope you’re all having a fabulous weekend!  See you again soon!! 🙂  xoxo, Angel