June 16, 2015
>> 2015 LOVE & SPLENDOR WORKSHOP INFO HERE // REGISTER HERE <<
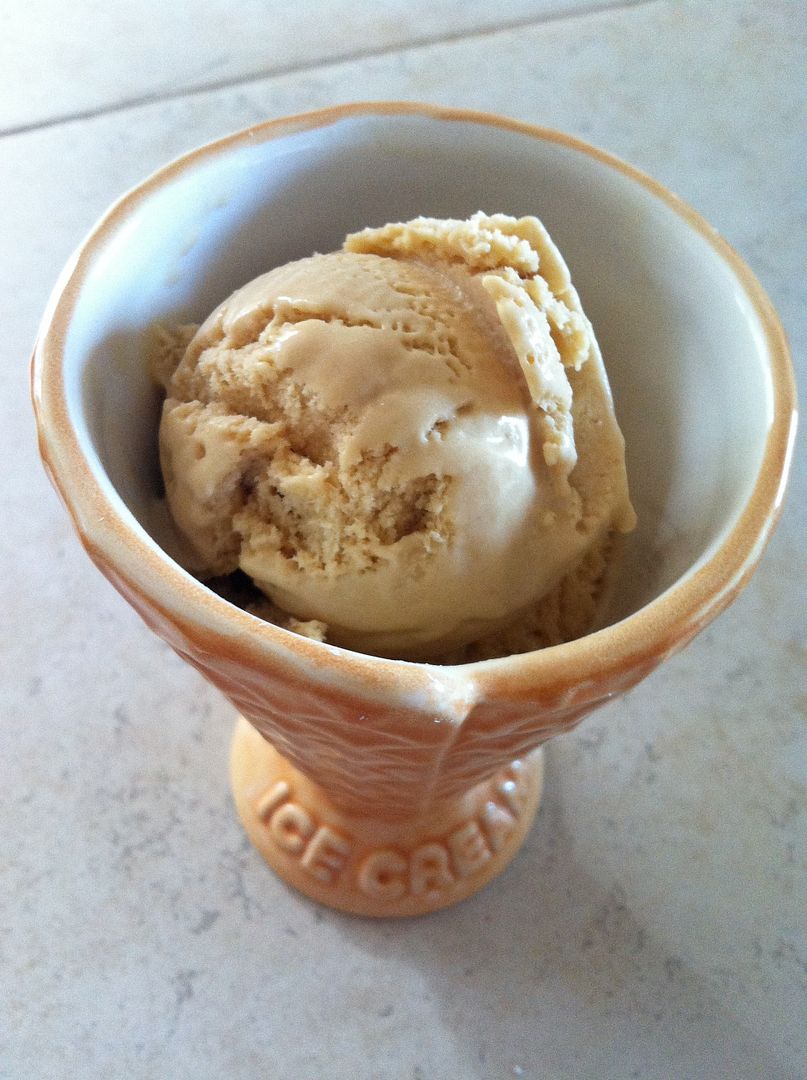
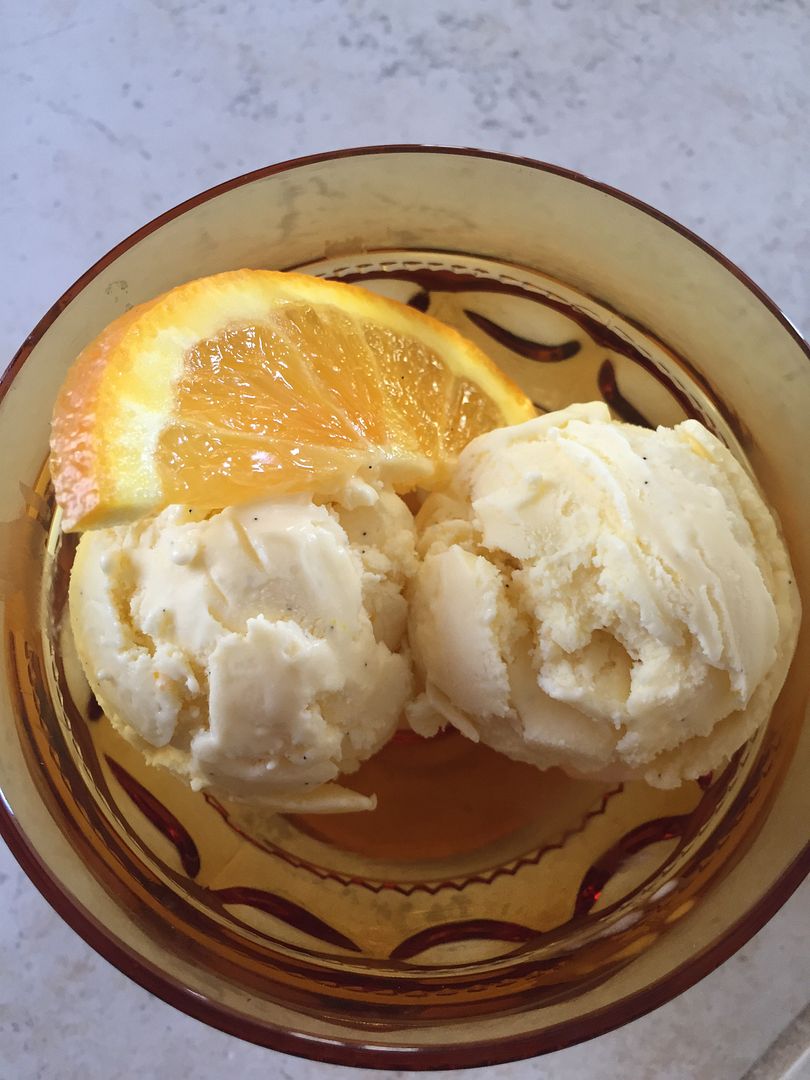
It’s no secret I am an ice cream fiend (it is hands down my favorite thing to eat, period). I literally can never get enough and it is difficult to keep it in my house since my self-control goes out the window when I know there’s a pint waiting for me in the freezer… Whenever I have guests over, I love to make my own homemade ice cream as a special indulgence. Just a few weekends ago, I had the joy of hosting the Kaisers (Nate, Jac, and their two kiddos Grace and Jasper). During their last visit, we whipped up a luscious salted butter caramel ice cream. This time around, I let Grace brainstorm some flavor ideas and we picked one together. We landed on a creamsicle-inspired flavor that combined a creamy vanilla bean base with a bright infusion of fresh orange. The result was incredible and I am happy to share the recipe here with you!
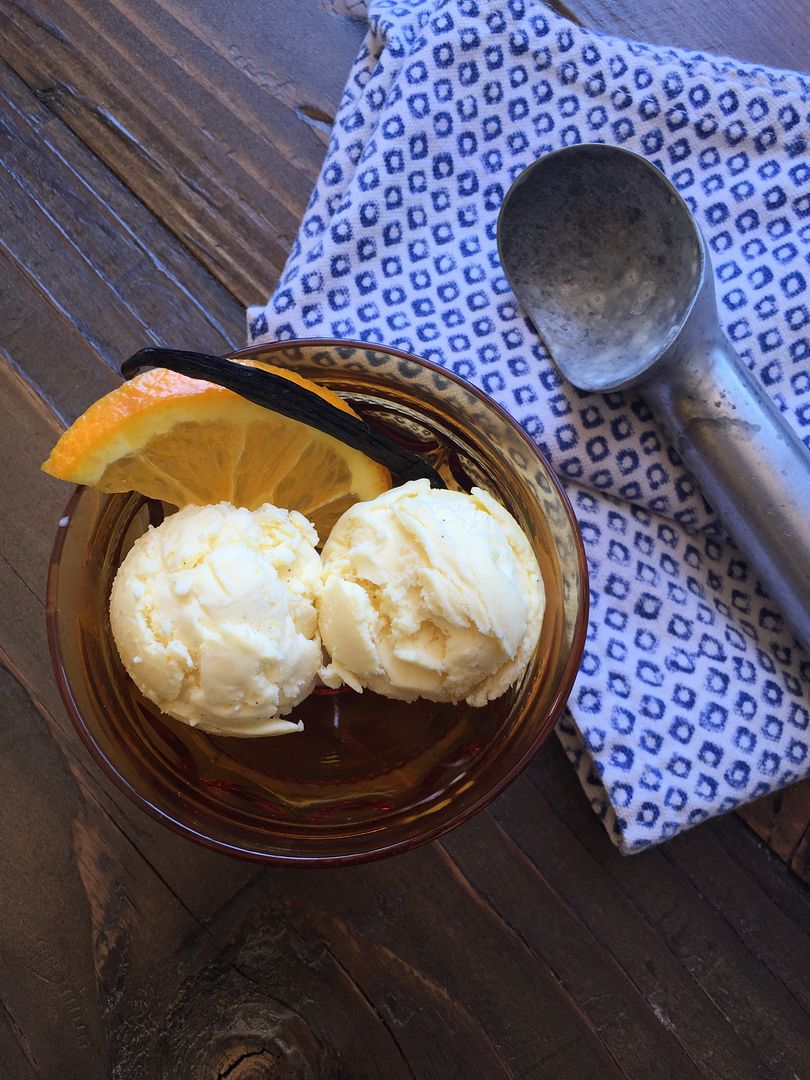
Orange Creamsicle Ice Cream // makes a generous quart
**Vanilla base adapted from David Lebovitz // customized to add hint of orange
- 1 cup of whole milk
- 3/4 cups of sugar
- pinch of sea salt (or best salt you have in the pantry — I use Himalasalt)
- 2 cups of heavy cream
- 5 large egg yolks
- 3/4 tsp pure vanilla extract
- 1 vanilla bean, split lenthwise
- zest of one large orange
- 1/2 cup of orange juice (fresh squeezed from the one you zested!)
Prepare an ice bath by filling a large bowl with ice cubes (about halfway) and a bit of water so they are floating. Then placing a metal bowl on top of that so it is surrounded by the ice cubes. You want an extra cold bowl to add your ingredients later. *A key to successful ice cream making is having a completely cold custard (un-churned ice cream) before pouring into your machine.
Put a mesh strainer over the metal bowl and pour the cream into it.
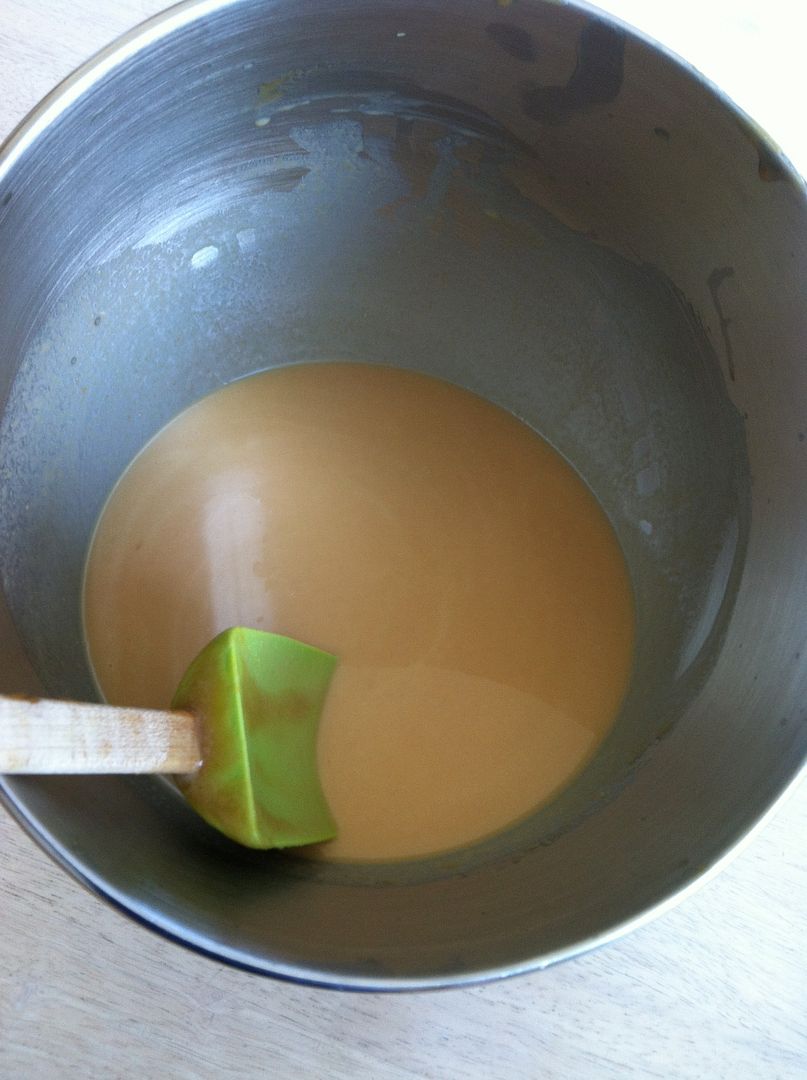
In a medium saucepan, heat the milk, salt, and sugar until the sugar is melted. Scrape the seeds from the vanilla bean and add to the milk mixture, then throw in the bean pod. Cover, remove from heat and allow custard to infuse up to one hour. Remove bean pod.
In a separate bowl, whisk together your egg yolks. Rewarm the milk mixture and temper the yolks by slowly adding small teaspoons of the warm milk to the eggs and whisking continuously. When the yolk mixture is warmed up, add *slowly* to the milk mixture. I am really cautious about scrambling my eggs so I very gradually add warm milk to the yolks, then a touch of the yolks to the milk, and so on. This is the most time consuming step for me but it is well worth not ruining a batch of ice cream with chunks of scrambled egg! haha
Now cook the custard over low heat, stirring constantly and scraping the bottom with a silicone spatula, until the mixture is thick enough to coat the spatula.
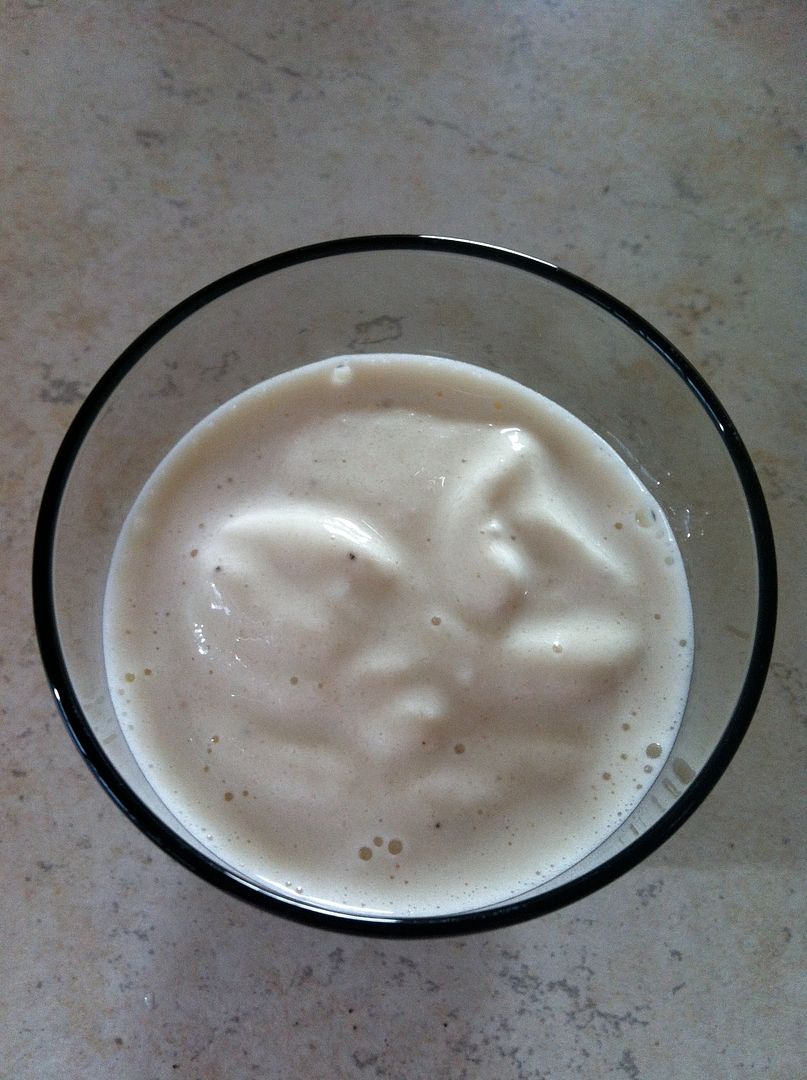
Pour the custard over the mesh strainer into the cold cream (in that metal bowl over the ice bath). This helps in case you didn’t temper patiently and have some floating egg bits in your custard! It also ensures that the final product is luxuriously smooth. Stir over the ice bath until the mixture is cool, then add the vanilla extract, orange juice and zest. (I strain the orange juice but put the zest in directly because I love the pretty specks in the finished product.)
Put the custard into the fridge for at least 4 hours, or ideally overnight. This is a KEY step — your custard must be thoroughly and completely chilled. If not, it won’t freeze completely in the churner and you’ll end up with ice cream soup.
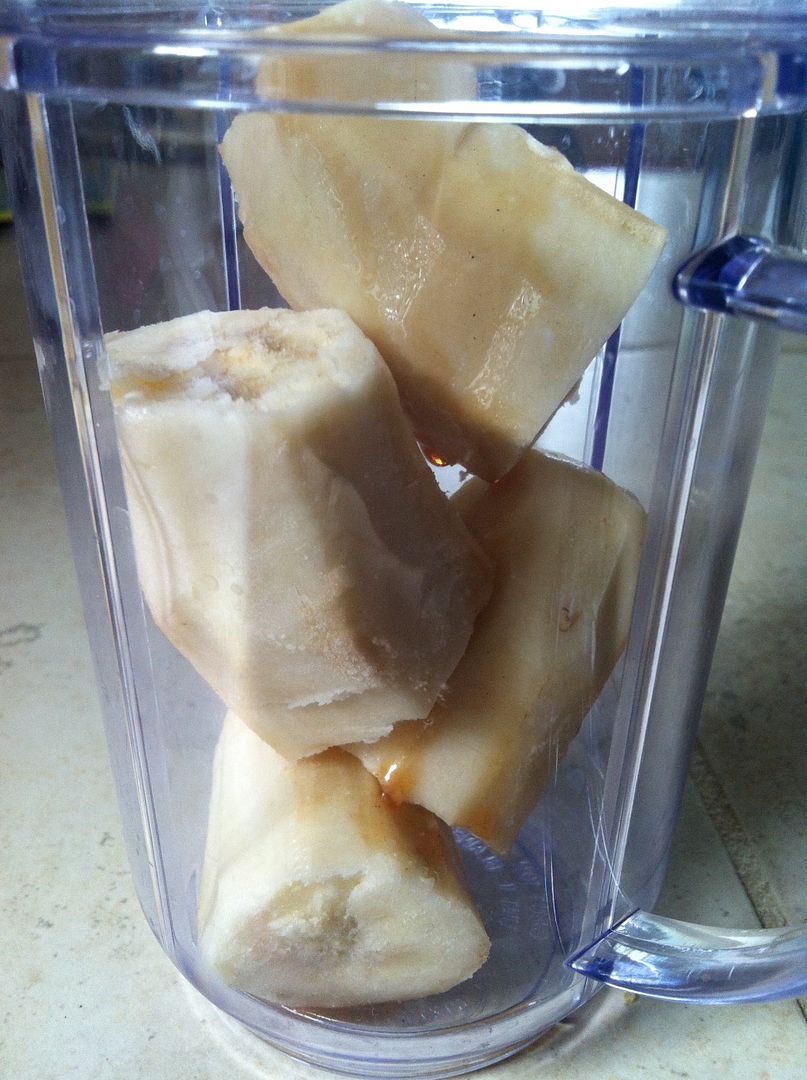
When your custard is fully chilled, freeze it in the ice cream maker according to instructions. I use the Kitchen Aid ice cream maker attachment that works with my stand mixer. I love it!
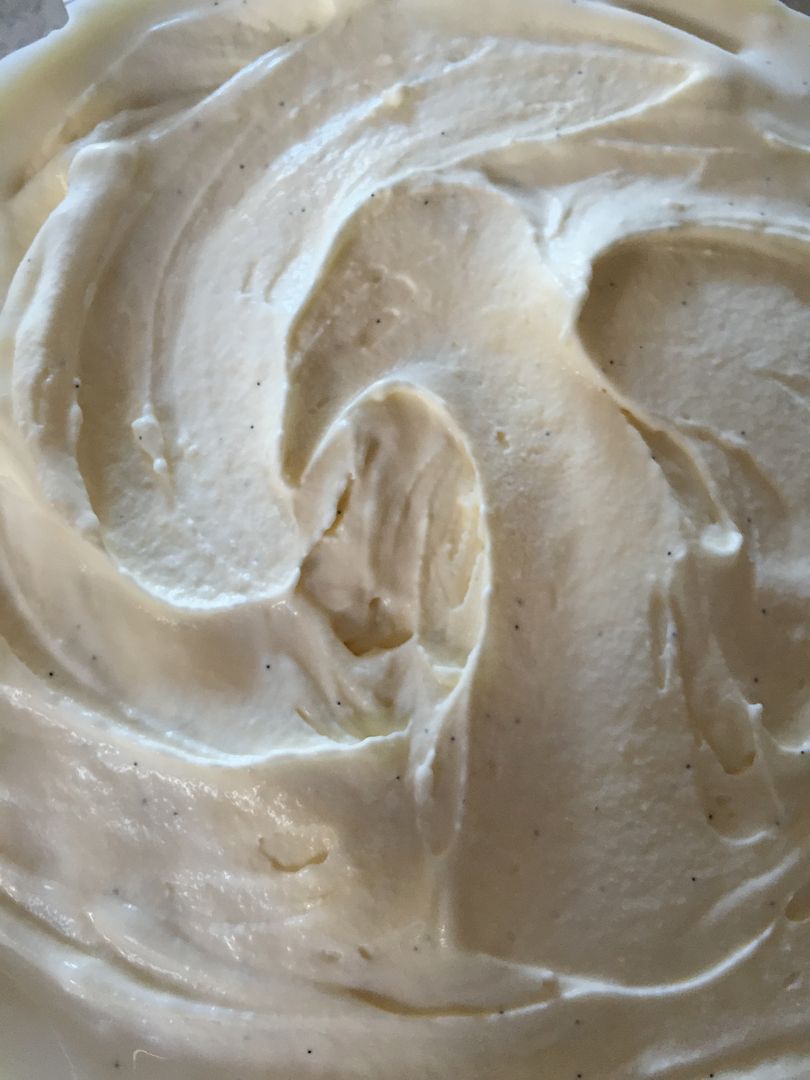
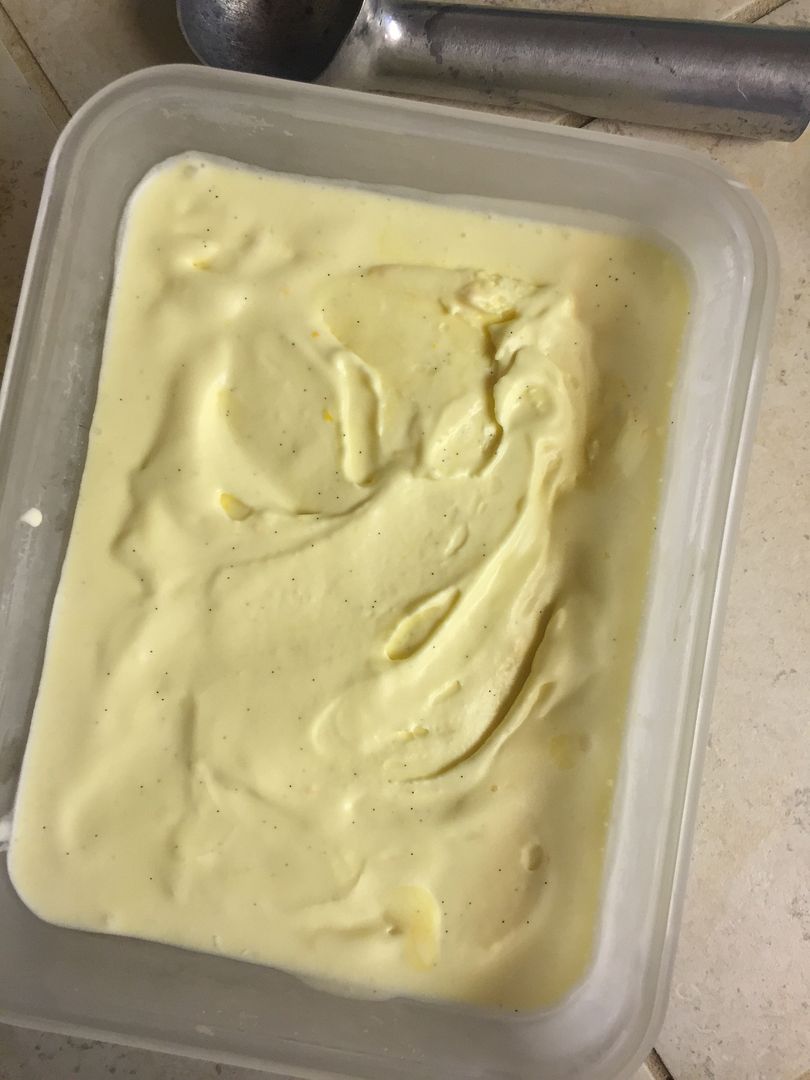
Once the ice cream is churned, remove to a freezer safe container and chill until firm. (Fresh churned ice cream will have a softer texture since it doesn’t have any artificial stabilizers, but it will firm up nicely in the freezer.)
Let me know if you try it — it was a definite winner over here! Enjoy and see you again soon!